Monday, December 6, 2010

day 6 - eggnog muffins

Monday mornings are Bible Study mornings.  This is really a time for us girlfriends to get together and share what is on our hearts, both happy and sad.  We chat, we laugh, sometimes we cry, we drink some coffee and we visit.  After all that is done, we open our Bibles and get some real work done. 


Some mornings we have food, not always, but sometimes.  This morning I woke up early to make Eggnog Muffins.  They sounded delish to me, I love eggnog!  Unfortunately I don't have many pictures this time... I left my glasses on the bedside table... I was still able to read the recipe, but pictures were not going to happen.

I found this recipe in one of those Christmas Gifts from your Kitchen books... I just love those books by the way.  They looked easy and yummy, extra nutmeg in the batter, a whole cup of eggnog for the liquid, and a special nutmeg crumb topping.  I skipped the rum in the muffins, I was making them for my kids, and really, who needs rum in the morning!  Of course you are welcome to add it if you are so inclined. 

I haven't tried one yet, waiting to share them with my Bible Study gals in 30 minutes. AJ tried it (my picky 5 year old) and he wasn't the biggest fan, maybe it is because I never buy eggnog nor let them drink it... I don't want them to develop any bad habits too early in life.
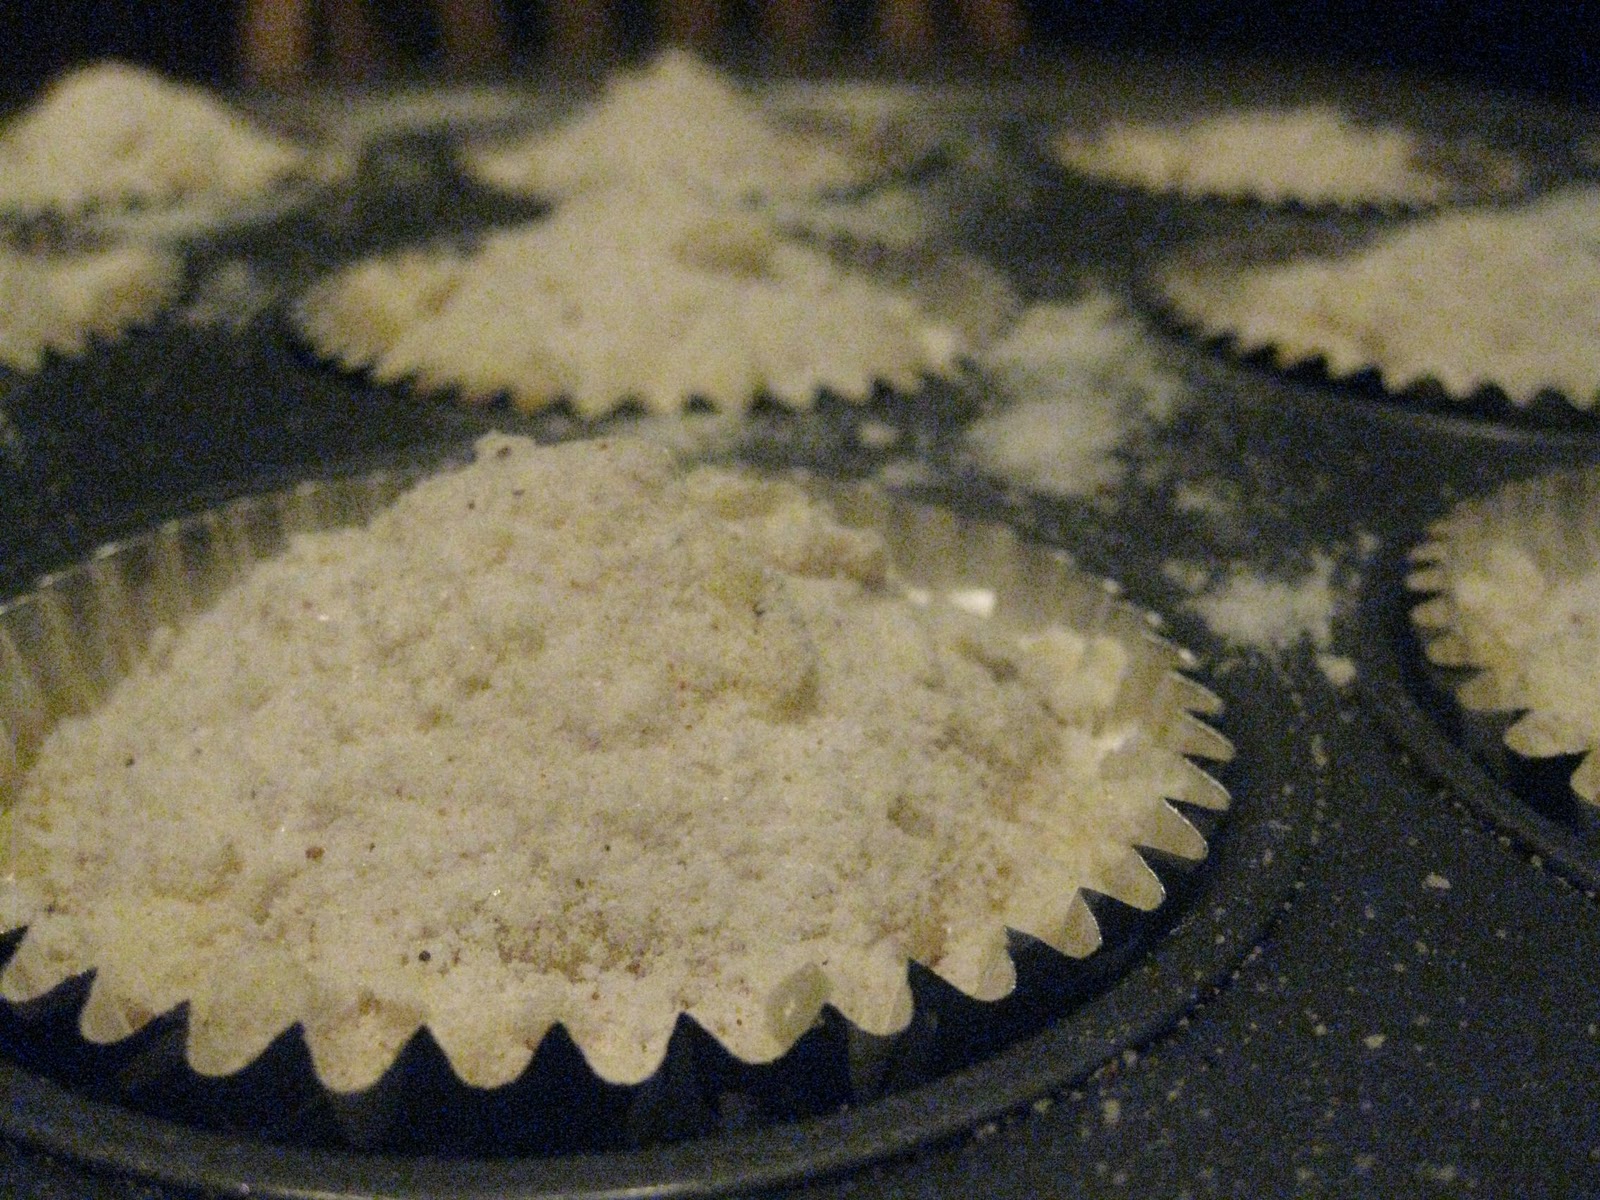
Eggnog Muffins
Combine 2 1/4 cup flour, 1 cup sugar, 2 tsp baking powder & 1/2 tsp nutmeg. Make a well in the middle of flour mixture.  In a separate bowl combine 2 eggs, 1 cup eggnog, 1/2 cup butter - melted, 1 tsp vanilla, 1/2 tsp rum extract (optional). Add egg mixture all at once to flour mixture. Stir until moistened, batter will still be lumpy.  Spoon into 12 muffin cups.  Sprinkle top with Nutmeg Streusel topping (1/3 cup flour, 1/3 cup sugar & 2 tbsp cold butter, cut in butter until mixture is coarse crumbs). Bake in 375* oven for 18-20 minutes.

Sunday, December 5, 2010

day 5 - cranberry orange baked french toast

Sunday mornings in our house is the only day we make breakfast, the boys are thrilled to have something other than hot cereal! This morning I decided to make use of leftovers and make up breakfast, all by myself! With an entire loaf of Cranberry Orange Bread left over, I decided it would make the perfect baked french toast.

At first the boys were disappointed that we weren't having breakfast burritos (our usual Sunday breakfast), until I told them I was making FRENCH TOAST! They were excited for a second, but when they saw me cut the loaf of Cranberry Orange Bread, they started to get scared. I am not known for my ability to 'make things up', at least within my own family!

I cut the bread into 1" thick slices, and layed them out in a 9x13 pan coated with cooking spray. I then whipped up a custard to soak the bread in.

My custard consisted of 1 1/2 cups fat free milk, 1 1/2 cups half & half, 1/2 cup sugar, 3 eggs. If you are using a plain bread, you may want to add 1 tsp vanilla. Whisk the custard until smooth and pour over the bread. Let the bread sit for about 10 minutes, if you are able, turn the bread once to ensure equal coating. Sprinkle with 2 Tbsp sugar & cinnamon, then place in a 400* oven for 25-30 minutes. Bake until the French toast is browned on the topped and puffed up.


It is important to let the french toast sit for at least 10 minutes after coming out of the oven for the custard to set up. Serve with some fresh fruit, no syrup needed.

By the way, even my husband admitted this was really good, and didn't need anything extra to 'help it along', that was a HUGE compliment from him! I may start making an extra loaf of quick bread just to use it for French Toast, Enjoy!


Saturday, December 4, 2010

day 4 - cookie cheesecake bars


Today I wanted to make something simple, and something I could do with my boys, since they LOVE to bake almost as much as their mom! So I found this recipe here: http://thepioneerwoman.com/tastykitchen/recipes/desserts/cookie-cheesecake-bars/
it was easy, I had all the ingredients, and the boys could help! By the time we got ready to bake, Jimmy was fast asleep with his daddy on the couch - this happens frequently in the afternoon, so this was just two of us.
Time to get started. One box yellow cake mix combined with 1/2 cup oil, 2 eggs. Stir this together, then fold in 1/2 a bag of chocolate chips. This is where AJ's job came in. He got to press half of this down into the prepared pan (8x8 pan lined with foil overhang for easy removal). Then we mixed together 8 oz softened cream cheese, 1/2 cup sugar, 1 egg. Once this was all blended, we poured it on top of the cookie batter. We then sprinkled the remaining batter on top of the whole pan and put it in the oven. 40 minutes later it came out looking very yummy!
The foil made it very easy to take the bars out of the pan, and cut into 16 squares. One went on my cute snowman plate for the picture, and another went on a napkin for me to test out before telling you all about them, I had to try it first after all. I would totally recommend this to anyone with kids, they can do most of the work which makes them big helpers. Enjoy!


Friday, December 3, 2010

day 3 - cranberry orange bread


christmas baking season in my house growing up, consisted of 3 staples, ginger sugar cookies, cranberry orange bread and dried fruit bread. Here is staple number 2.

so before I get started, I have to tell you why I decided to make this bread today. Once a month at church, we do a special program for the kids, and during the program, we provide snack. Every month it is some fresh fruit, so I thought this month I'd do something fun, and make some muffins for the kids, I knew they'd love it. This afternoon I put together a batch, and put it into my mini muffin pan, and tossed it in the oven. One batch of bread only filled 20 muffins, doing some quick math, I realized I needed to make at least 5 more batches of batter to feed the 115-120 kids we have each month. I only had enough fresh cranberries for 3 batches, so while the first was in the oven I quickly but together a triple batch, ready for me when I got home this evening. The muffins came out of the oven... I let them cool for a while and then tried to get them out... no luck. My lack of patience came through in spades, and the muffins were falling apart. Quick assessment led me to the conclusion that the kids would be getting fruit tomorrow and not muffins (grapes were the final result). Now what to do with the triple batch I had ready? Guess I'll make a couple loaves for home.

Fast forward to this evening. The loaves were baking when I left the house, gave my husband instructions to take the loaves out when the timer went off. Unfortunately I did not ask him to check to see if they were done first. So tonight, I have several mini-muffins left, and 2 loaves with the top sunk in like the Grand Canyon. Oh well, they still taste good! Enjoy the pictures.


Cranberry Orange Bread
Sift together 2 cups flour, 1 cup sugar, 1 tsp salt, 1 1/2 tsp baking powder, 1/2 tsp baking soda. Cut in 1/4 cup shortening. Combine 1 tsp orange peel, 3/4 cup orange juice & 1 egg. Add orange juice mixture to dry ingredients. Mix until moistened. Fold in 1 cup chopped cranberries & 1/2 cup walnuts (optional). Turn into greased loaf pan. Bake at 350* for 60 minutes.

Thursday, December 2, 2010

day 2 - pumpkin caramel biscotti

yesterday's challenge proved a little more difficult this morning, when I realized that I didn't have some key ingredients that several recipes called for... hmmm, now what can I make today, that I have on hand? Biscotti was the answer. I love biscotti, normally with my coffee in the morning, today I'm enjoying it with warm apple cider after a long day.


a second challenge issued by my sweet blogging mentor, was to make my pictures a little more interesting... she wasn't a huge fan of the cupcakes on the same plain cake stands for some reason! So, I'm channeling one of my fav bloggers - PW - and trying out something different with pics, here goes nothing!


the list of characters:

As with most biscotti recipes, the dough is pretty dry. This one was simple enough to follow, mix together the dry, mix together the wet, and combine the two. I have to admit, this was stickier than I've made in the past, and I think I might add a bit more flour and a bit of crunch the next time around. Here is my dough half-way through the mixing process:

once the dough comes together, it is time to divide in half and shape. The recipe called for shaping the dough in a half-circle, I like my biscotti in a log form, creative license in whatever shape you prefer! The forming process was pretty messy (back to that sticky dough comment), so unfortunately there are no pictures... I did manage to get one last picture of the pre-baked biscotti:


did I mention the pan was in the oven? Oh well.

as indicated by the name, biscotti is baked twice, once in loaf form, allowed to cool slightly, then sliced on the diagonal (creative license again) and baked again until crisp. Here is the final product, dripping with all it's caramel goodness:


it tasted fantastic with my warm apple cider tonight. For those of you interested in the recipe, here is where I found it:

http://thepioneerwoman.com/tasty-kitchen/recipes/desserts/pumpkin-caramel-biscotti/


And now, it is WAY past my bedtime... however, I had to blog, I said I would. Time for me to hit the sack, and prepare for tomorrow's tasty goodness! G'night all!

Wednesday, December 1, 2010

1 month of baking...


Over Thanksgiving vacation my sister-in-law and I talked blogging. I admitted that I had a hard time blogging consistently because of the theme of my blog, and my feeling that I'm not doing this on a daily basis that fit into that theme. She challenged my thinking on the subject, I love that family can do that! She just finished her 1 month of blogging daily http://monicawiesblott.blogspot.com/ , so I decided to create my own challenge of sorts: to bake every day for a month and blog about it!

Today, being the first day of December, sounded like a great day to start my challenge (did I mention I just decided to create this challenge when I sat down to type my blog!). Of course December is an easy month for me to challenge myself to bake daily, I am always making baked goods, and inevitably my family is always asking if these are for them, or if I am making them for some other lucky individuals! With an entire month of baking to go, I'm sure they will get tired of the goodies, and be ready for me to stop the challenge.

What better recipe to start a challenge with than one of my childhood favorites, Ginger Sugar Cookies. Similar to your traditional sugar cookies, but made extra special with the addition of ginger and cinnamon, yummy! As with most sugar cookies, the dough has to chill for several hours before rolling out, so the end result will be posted tomorrow. But, if you are in need of a new holiday recipe, give this one a shot!

Ginger Sugar Cookies
Cream together 1 cup sugar and 3/4 cup soft butter. Sift together 1/2 tsp cinnamon, 2 cups flour & 2 tsp ginger. Add 1 egg to butter & sugar mixture, mix until egg disappears in batter. Add dry ingredients, mix until just combined. Dissolve 1 tsp baking soda in 1 Tbsp milk, add this to the dough and mix until dough comes together. Form the dough into a ball, place on a sheet of plastic wrap and roll tightly. Chill dough for several hours in the fridge before rolling out. Dust surface with flour and roll out dough less than a 1/4" thick. Cut out with desired shapes. Bake in oven at 375* for 12-15 min. Place cookies on paper and dust with granulated sugar (or colored sugar) while still warm.

Thursday, November 11, 2010

Expanding our Audience


For years I have toyed with becoming vegetarian, I know, you are wondering what that has to do with baking, I'm getting there. Growing up, my family ate mostly vegetarian until my brother was introduced to hot dogs at a friend's party. I've never been a huge meat eater, sticking mainly to turkey and chicken and the occasional piece of salmon. Of course when it has come to baking, I've only used the best ingredients. Pure unsalted butter, whole milk, heavy cream, farm fresh eggs when I can get them.


Recently I was asked to make vegan cupcakes. Vegan Cupcakes?!?! Don't get me wrong, living in the Pacific NW, of course I understand how prevalent to vegan diet is, and I have several friends who are vegan as well. But this meant I'd have to use something other than butter to make a buttercream frosting. To me, it isn't buttercream then. But, to someone else, who has chosen this diet for moral, religious or health reasons, to have a cupcake that is delicious and within their dietary restrictions could be bliss. So I agreed, and have been trying it out.


Luckily for me, I already had a great chocolate cake recipe that just happened to be vegan. Check that off the list. Then onto the frosting and filling. Yes, I made the traditional buttercream, substitute other ingredients, and it isn't half bad. I may continue to try to modify that recipe to get something I really like. I thought while I was at it, I might as well try the cream cheese frosting recipe as well. Hmmm, I decided the addition of a peanut butter filling would off-set the odd taste of vegan cream cheese, we'll see how they like it. The other cupcakes got a berry filling, I just can't leave a cupcake unfilled!


What I have come to accept about myself, is that vegan will probably never truly be an option. Vegetarian is slowly working its way into my family, and that is a conscious choice I am making. However, when it comes to baked goods, I'd rather not eat them often, than substitute the real deal with something else.


However, for those of you out there that are choosing the vegan lifestyle, rest assured, StarFlour Baking will be happy to make vegan cupcakes for you!